WHAT TO KNOW BEFORE BUYING A FIXER UPPER
Jennifer Mejia

Play the video for a tour inside and out!
Renovating an old home seems so glamorous if you watch enough HGTV. Sure there are unexpected issues, but don’t they always work out in the end? That’s called reality TV, and sometimes it’s very far from that. We like to joke that we bought a crack house and renovated it. It didn’t look exactly like a crack house when we purchased it, but at one point during the renovation, we had to remove all of the windows and put plywood in their place, so it did, indeed, resemble a crack house. Keep scrolling for the crack house photo.
Taking an old home in a dilapidated state and giving it a fresh new look can be very rewarding and satisfying once it’s complete. But getting there is not easy. Truth be told, an old house is never really “complete.” Owning one is not for the faint of heart. But if you go into it with your eyes wide open and have made peace with expecting the unexpected, you’ll likely survive. As we did. You simply have to decide if you can live with the never-ending cycle of repairs and updates that come along with it.
Many people have purchased new homes in the past several months. In our area, people have either fled New York City altogether or decided to purchase a second home as a weekend sanctuary (or longer for the next wave of this pandemic). So if you’re a recent new home buyer or are considering a new home in the future…and if a fixer-upper is part of that…listen up! Here are a few things you need to consider when evaluating whether or not to make the leap. Some things are obvious. Others are things you wouldn’t know unless you’ve gone through it.
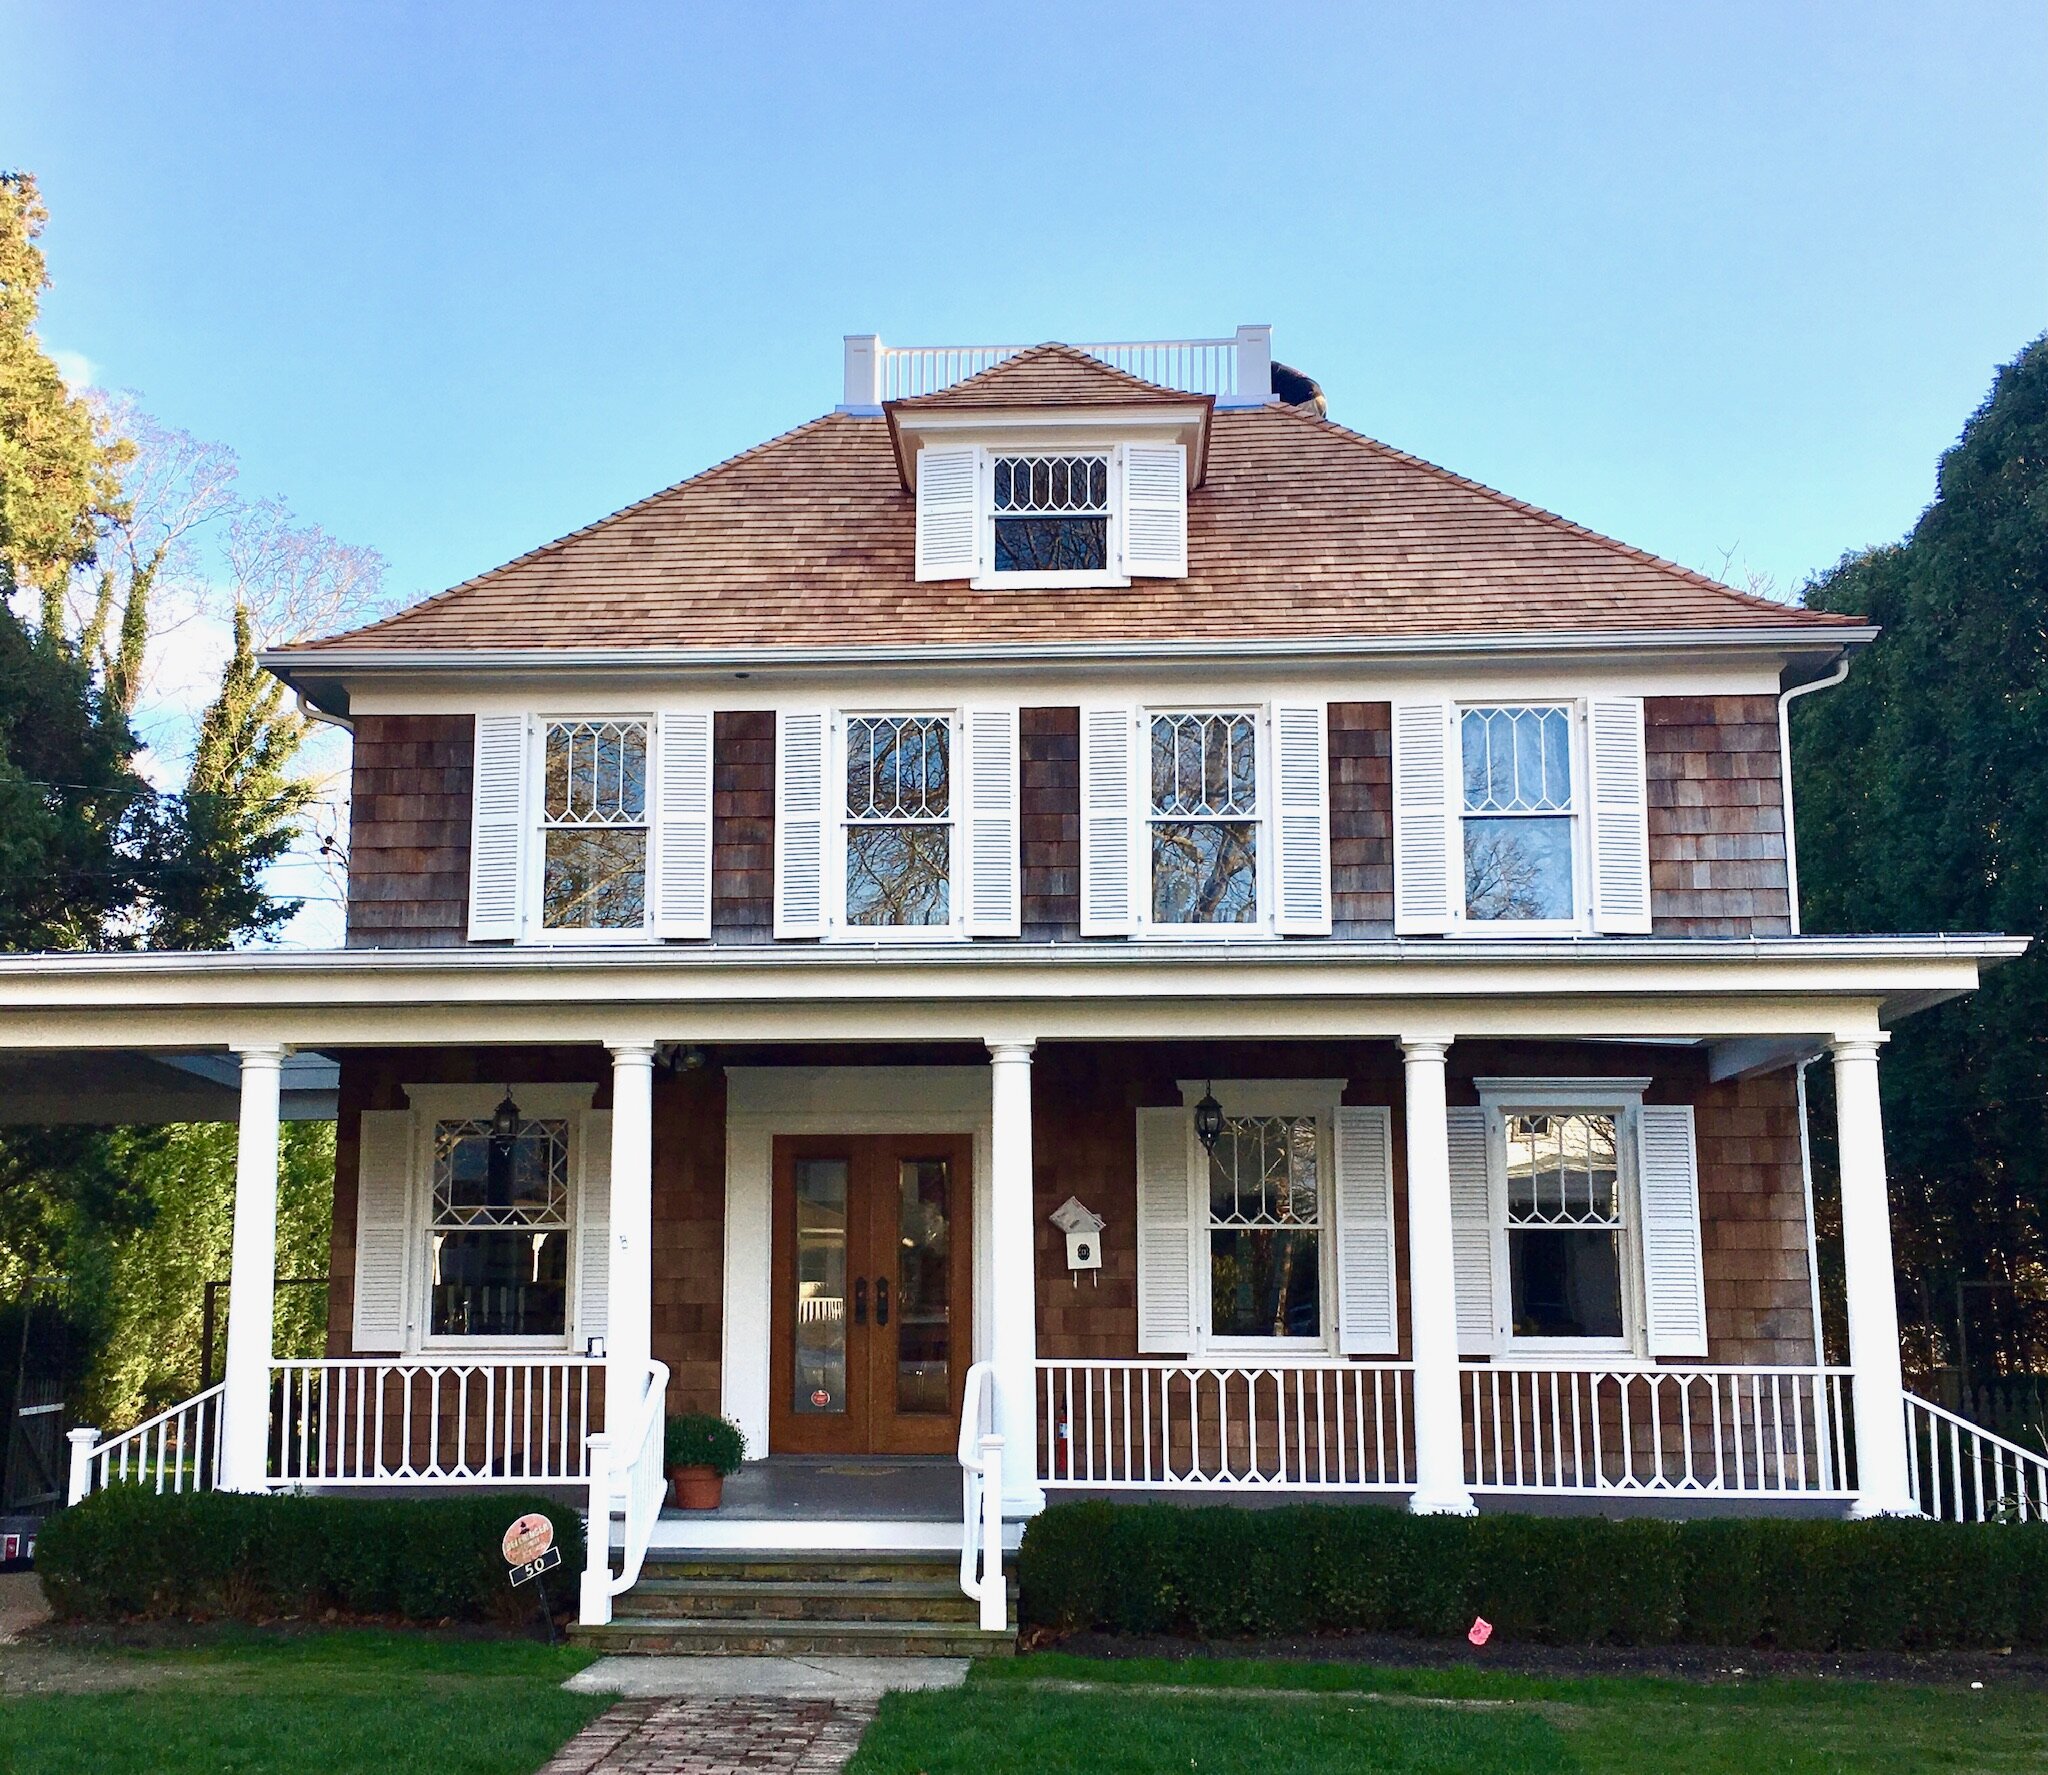
Location, location, location. I feel a bit foolish for writing this because I feel it’s something everyone should know. You can change a lot about a house. You can even knock it down in many cases if it doesn’t have historical significance. But you can NEVER change the location. (Some very special, historical houses are moved, but that’s not done very often.) Ideally, you buy the worst house on the nicest block. With improvements, your house will be worth more because of the other houses around it. Don’t buy a fabulous house in an otherwise unremarkable neighborhood because that’s not typically good for resale. And who wants to look at other ugly houses? Buying in town, near the beach, or a location where there is a finite amount of real estate, will always be better for your property long-term due to the law of supply and demand. If you like being away from the action, then you should by all means make that purchase in the woods. But realize it may make your house one of many and therefore more difficult to sell when the time comes.


Original window details and light fixture.
This would be part of its “good bones.”
PC: Paloma Contreras Design

The original banister and wainscoting.
PC: Paloma Contreras Design
Good bones. Only look at the bones of a house. Nothing irritates me more than watching a home improvement show and having someone comment on paint color or wallpaper. You must look beyond the furniture, carpet/floors, and walls. Even ignore the light fixtures. All of that can be changed. Easily. Do you like the floorplan of the house? Does the house have unique character like beautiful millwork, for example? Was it built well? Just changing paint, floors, and lighting makes a huge difference.
Along with bones, consider big ticket items. Check the age of major fixes like the roof, foundation, hot water heater, and the boiler. These things can be expensive to replace, and if they’re old, you’ll need to replace them because your house really can’t function without them in working order.

A roof is a big ticket item. After repairing two leaks during construction, we decided to replace the entire thing. We replaced an asphalt roof with cedar shakes.
Find a trusted architect. You’ll want him/her to look at the floorplan and any structural nuances to see the home’s potential. What walls can be removed? Can you move bathroom fixtures (toilet, shower, sink)? Can a window be made larger? Can an addition be added? The architect can likely tell you what walls are load-bearing and if they can be removed and a beam or column installed in its place so the house doesn’t collapse. In our NYC apartment, we knocked down several walls to create an open-living concept, and it turned an old, choppy pre-war apartment in a modern Soho-like loft space. In our Hamptons home, we are considering reconfiguring the second floor to improve the layout and flow and make bedrooms larger.

This was a “walk-in” closet with two full-depth closets on each side of the room. So we ripped out both closets and made it into a small kid’s bedroom. A 3-bedroom house became a 4-bedroom with a little demolition.
Understand restrictions set by any village, town, or homeowners’ association. Our Hamptons home is a historic home on a historic street, so the village looks at the survey and dictates where the footprint of the house can be on the lot, the maximum square footage of the house, and where additional structures can be built and how large they can be. So, if you’re considering changes, you’ll want to know what you’ll be permitted to do. Nothing could be worse than purchasing your dream home with a vision and then realizing your vision isn’t possible after you have the keys in hand. If it’s a historic home, you may even be told you that you can’t replace unique windows, change the color of the front door or shutters, or a number of things that would change it from its original design. And even for new homes, homeowners’ associations restrict whether or not you can install a shed or build an addition. Find out.

Both the front and side yards had rose gardens that were overgrown and expensive and time-consuming to maintain. We removed them and opted for a lawn.
Don’t forget the outside. Landscaping is a huge expense—to install and maintain. And chances are, if you dream of a beautiful house itself, you’ll want the yard and curb appeal to measure up. Look at the condition of the grass, trees, and plants. Consider how expensive it is to maintain. We were given a proposal of $12,000 annually to maintain our rose gardens, so out came the shovel! ;-) Consider any trees that need to be removed or added. Consider whether you have the time to do it all yourself or if you’ll want or need to pay someone to do it. You’ll notice the landscaping in the intro video and in these photos. We cleaned up the front and side yards but kept all of the beautiful trees and shrubs around the perimeter of the back yard.
If you have accessory structures on your lot, look at their location and condition. For example, we have an old barn (seen in the video by the pool) and garage on our lot. The barn is in a non-conforming location on the very edge of the lot. That’s a good thing. Because on a lot where that structure doesn’t exist, any new structure is subject to setbacks…meaning that it has to be built a certain distance from the property line, which minimizes your yard space. In our case, we can simply renovate/rebuild in the existing location. Lots of older homes have these accessory structures in non-conforming locations so consider that a huge asset with potential to increase the value of your property by renovating that, as well.
Regarding the accessory structures, DO NOT tear them down until you’ve decided if you want to replace them. If you need approval to do so, you’ll have a much easier time with your petition if you show a plan to replace a dilapidated structure with a beautiful new one. Plus, if you tear it down and don’t replace it for a few years, the new structure will be subject to current setbacks.
Hazards. If the home was built before 1978, find out if there is lead paint in the home. If you have small children, this is essential. Lead is especially harmful to children under the age of 6. And if you ever attempt to sell your home, you must sign a lead paint disclosure. A lot of contractors will minimize this and tell you it can be encapsulated, which essentially means painted over to keep any chipping paint from continuing to chip. If you do this, it’s something you have to continue to monitor. But the chipping paint isn’t the only issue. Lead dust is harmful, and if there is paint on windows, opening and closing windows containing paint with lead will release lead dust, which your children can inhale or ingest if they put things into their mouths frequently. There are several companies that can perform an XRF Test to determine the exact location and amount of lead paint. They come in with a laser and shoot every wall, windowsill, window, window trim, etc., to tell you if lead is present and at what levels. The cost will vary depending on the size of the house and how many surfaces you want tested. But it will save you money in the long run if you don’t have to strip paint in every part of the house. While you can encapsulate it, we didn’t want any of it in our home, so we had the contractor strip anything that had any amount of lead down to the wood. Then primer and two coats of paint were applied. A contractor who works on areas containing lead paint will need to be certified to handle and encapsulate or remediate lead paint. Always ask for this certification.
Like lead, you’ll want to check for asbestos. This can be costly to remove and dangerous if it’s not remediated.
HVAC. If the old home does not have central air conditioning, you’ll want to install it. Anyone who purchases a renovated home will expect central air at a minimum. And it’s easiest to do this before you start doing any cosmetic work like repairing walls, painting, and wallpapering. In some old homes, radiators and baseboard heat are still used even after a renovation. But no one wants unsightly through-the-wall or window air conditioning units, which is what we had. And no one wants to sweat if you’re in an area with warm summer days.
Dining room before we bought it. Dark and cluttered.

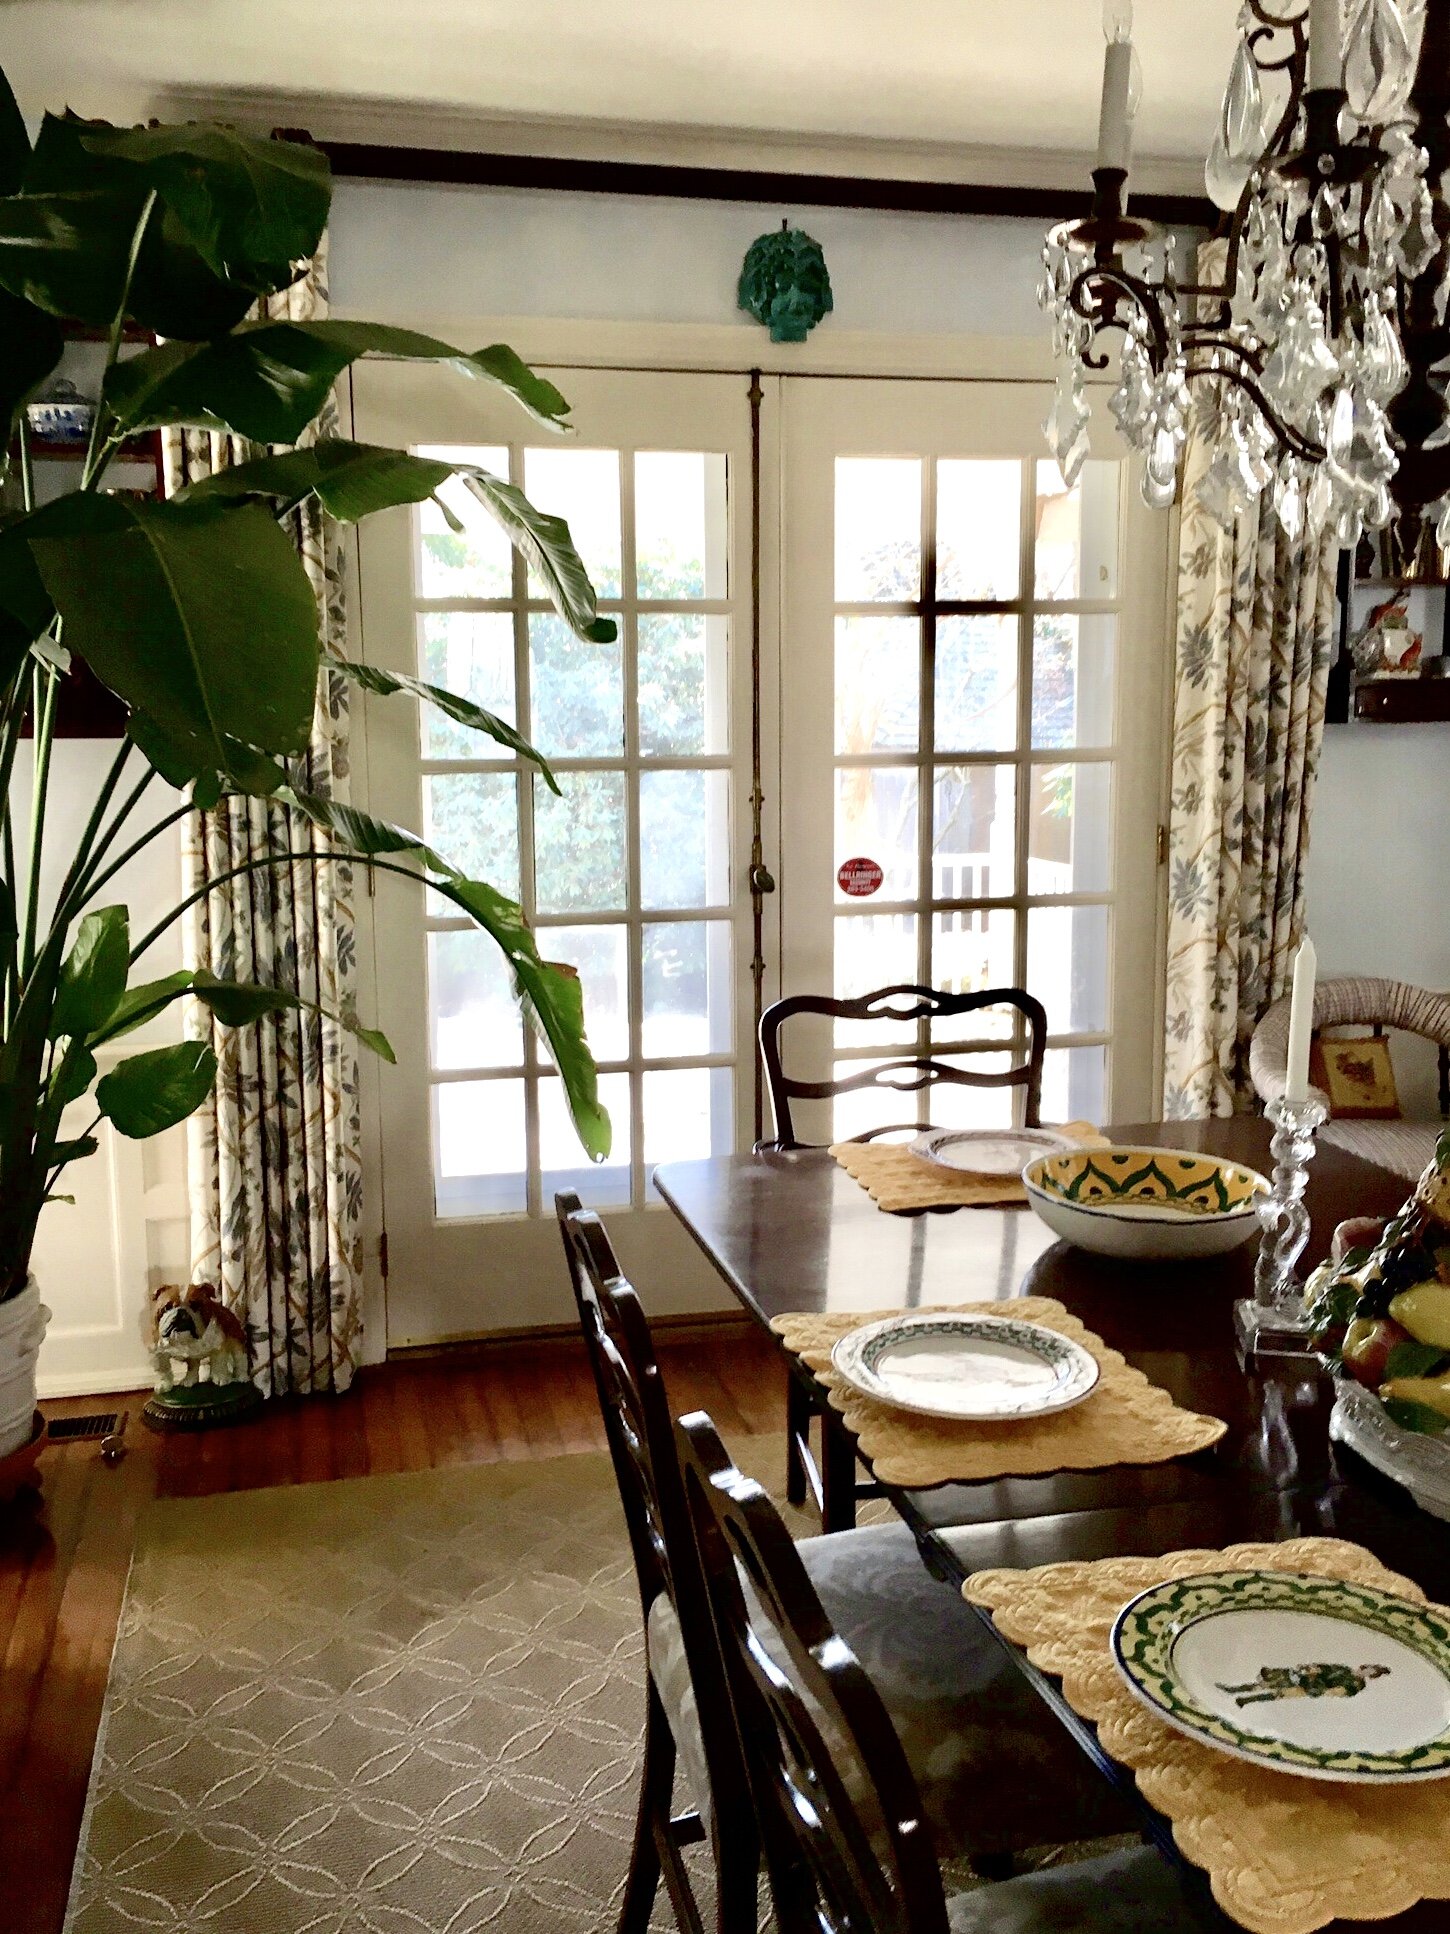
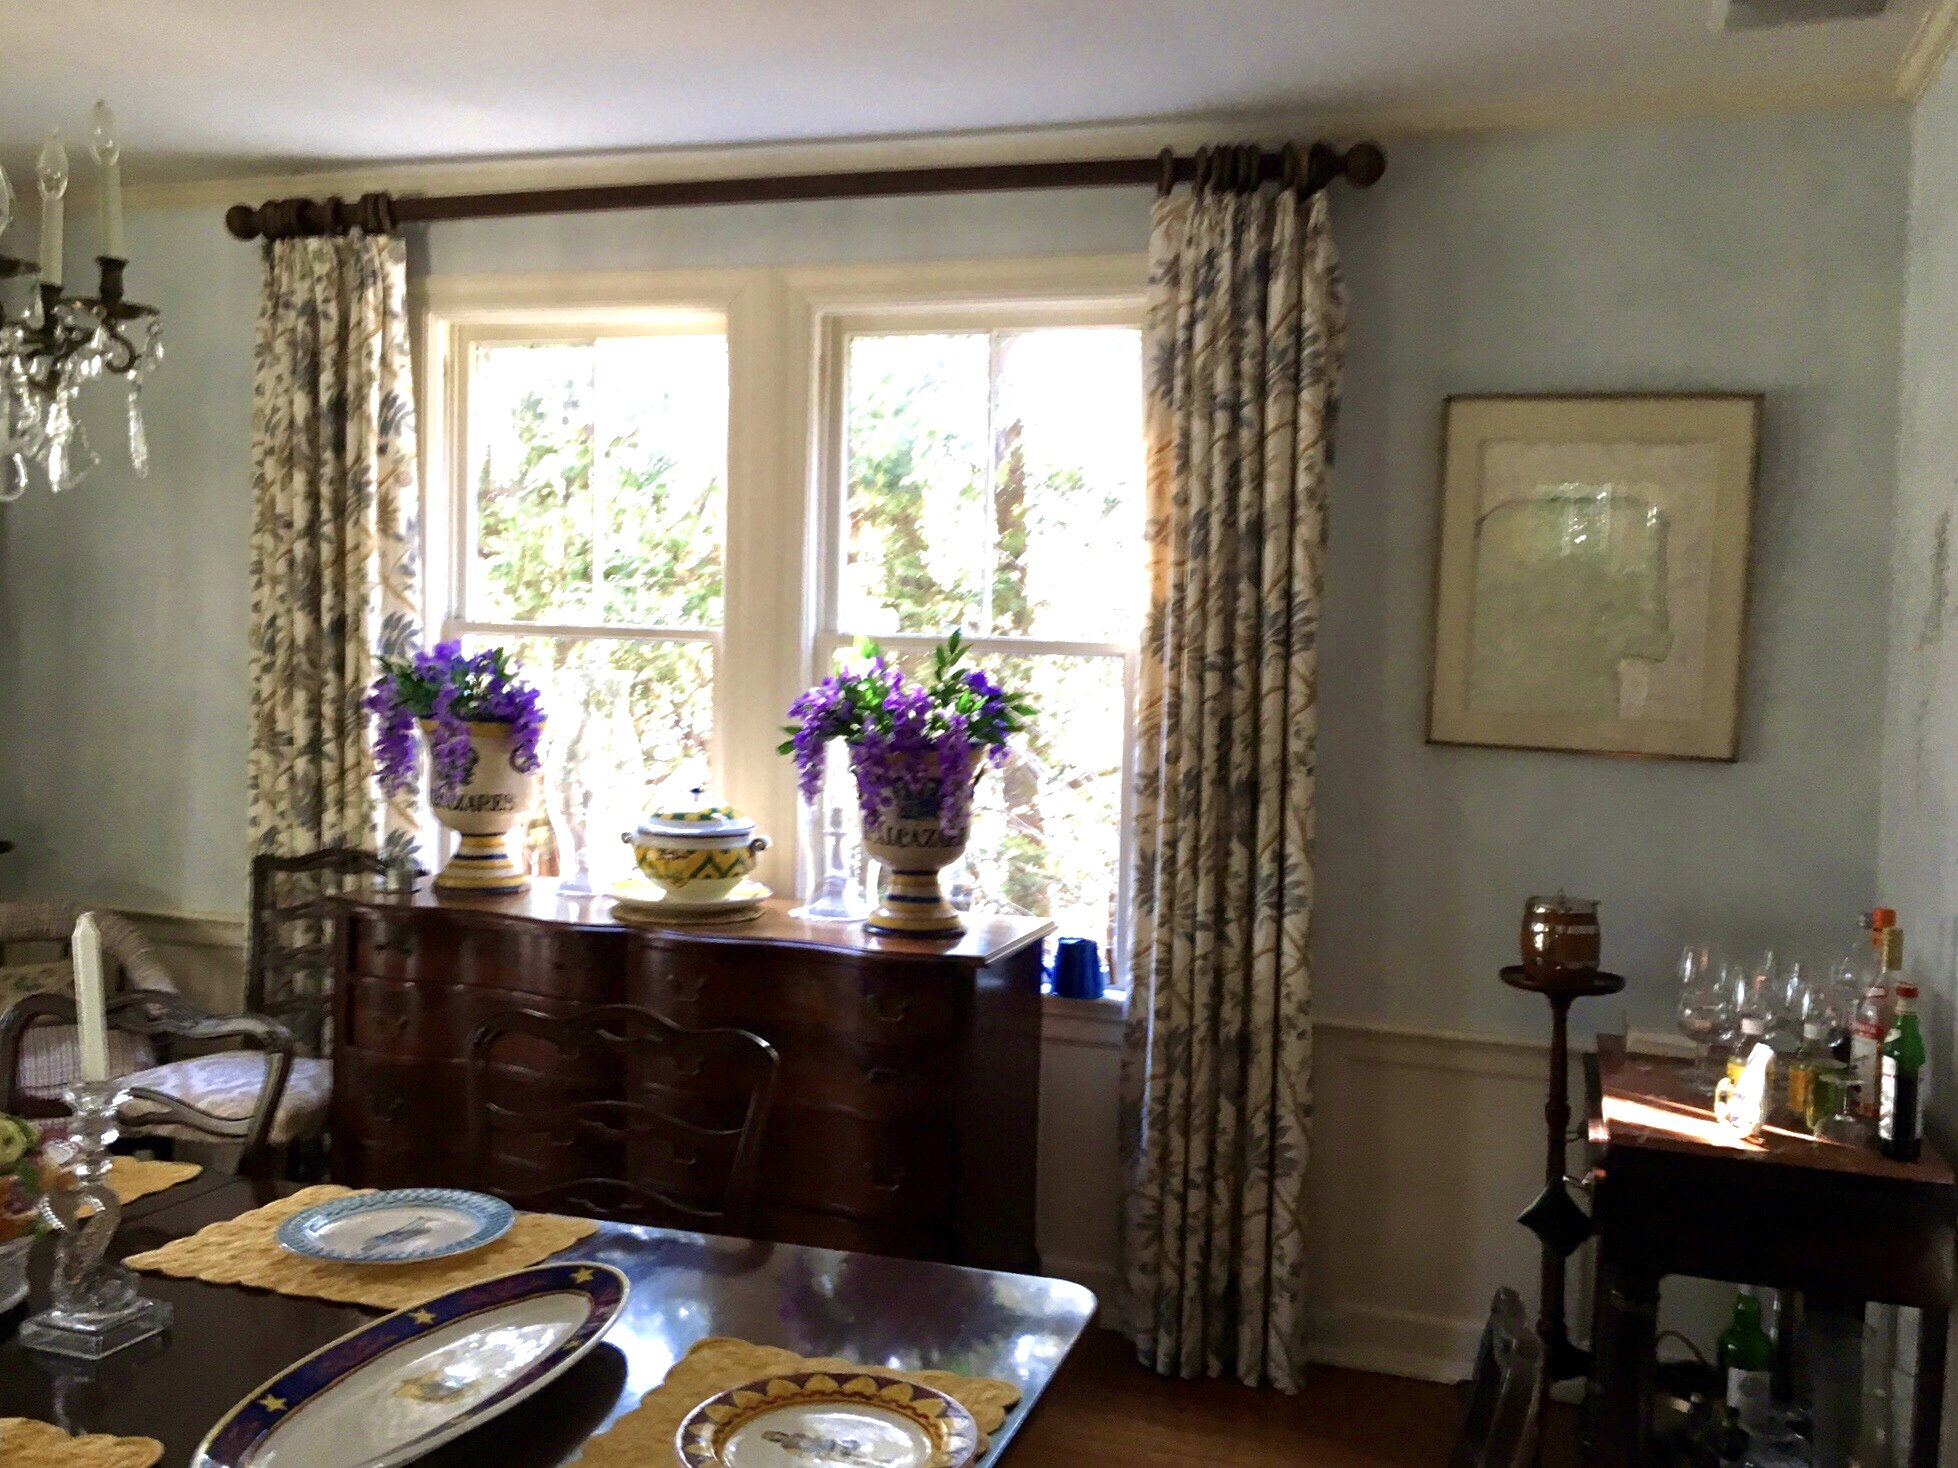
The dining room today.
Lots of hidden surprises. Expect you will find a lot once you open the walls. You may find major issues like structural damage and bad plumbing and electrical that needs to be replaced. You might find leak damage. We had four layers of wallpaper in our living room that revealed major plaster damage that is expensive to repair. Don’t get rid of original things like plaster if you can keep them. Along the same lines, decide what you want to keep and restore and what is easiest to remove and replace. Things that add character like unique millwork are likely worth restoring if you can afford it and that’s part of the home’s charm.
Hire a good general contractor. Yes, it’s possible to hire people for every trade and manage it yourself. But believe me when I tell you that surprises pop up almost daily so you need someone who can call in the appropriate sub-contractor ASAP to take care of it. Otherwise it slows the progress of other trades working on the house. Also, unless you can be there every day all day long, you’ll need someone managing it. Not all trades can be working at once, and a general contractor can schedule it all to keep the project moving.
On the contractor, never hire the cheapest guy. There is usually a reason they’re the cheapest. Always get at least three bids before choosing. Make sure that each contractor is bidding on the same scope of work, which you should clearly present to them in writing, whether that’s in an architect’s drawings and/or a written scope of work that you’ve drafted. Does it include finishes? (I’ll get to my suggestion on handling finishes later.) Check at least three references for each. Go to the houses they’ve completed and look at their work. Talk to the homeowners about how clean they were, whether or not they stayed on schedule, if they had a lot of change orders. If something broke after they were technically finished, did they stand behind their work and fix it? Ask the contractor for a guarantee for a certain period of time after completion. That’s typically a year.


Look past the clutter and dreariness. This was the living room with the previous owner.

Today…lighter and brighter.
What will the contractor do and what can you do? If you have the time and energy, pay the contractor for labor only and source your own materials. When you hire a general contractor, they place a fee on top of their work for the components of the job, e.g., plumbing, electrical, demolition, drywall, etc. That typically runs anywhere from 12-17%, depending on where you live. So everything they do and buy gets a markup. And if a subcontractor working for the contractor makes the purchase, you could be paying two markups. We have done two renovations of older residences, and I took charge of sourcing the materials myself. I purchased the doors, windows, lighting, millwork, faucets, tiles, hardwood floors, and appliances—and I paid the contractor for labor only. They purchased the paint (the brand and grade that I specified in the scope) and were obviously responsible for all building materials and supplies. But in order to be successful doing this, you need to have an agreement with the contractor up front for them to tell you when you will need these things AND you will need to understand the lead times for them. You don’t want your bathroom tiles to be two weeks away from delivery if your contractor is ready to install them today. This approach requires organization, but it can be done successfully if you do your homework and prepare. And it will save you A LOT of money.
The contractor’s contract. When paying a contractor, pay by project milestones…things you can see completed. NEVER pay them by time, e.g. $x due every two weeks. The former will ensure they move forward on the job. The latter guarantees nothing, as you will be obligated to pay even if they aren’t making real progress. I have seen so many people get burned this way. At most, pay 10% of the total job budget for them to begin. Always hold out 10% until final completion of all punch list items (odds and ends that need to be completed to finish the job). Structure the contract for payments of a percentage of the total budget as major milestones are completed, e.g., when plumbing and electrical inspections are completed and the walls are closed, when windows and floors are installed, etc. Look at the scope of your work and when major items should be completed and structure accordingly.
Think long term and have patience. I mean this beyond just powering through bumps in the road. When one is renovating a home, it’s easy to want a quick fix to be finished and just move in already. But sometimes the quick fix isn’t the smartest route and not what’s best long term. Here’s an example. We closed on our home in April, and we hoped to use it that summer. Our plan was to do mostly cosmetic work. We had old, unsightly, and less than ideal through-the-wall air conditioning units on the second floor. Central air was only on the first floor. Foolishly, we didn’t want to add time to our renovation so we didn’t install central air on the second floor initially. We were simply going to replace the wall units and save the central A/C for a future, larger second floor renovation. But during the following Spring when we began looking into new wall units, they weren’t inexpensive, and it was difficult to find the right size, as the existing units were really old. So we then had central air installed about six months after the initial renovation was complete, and that added a lot of extra cost (and time, obviously) versus if it was part of the initial renovation. We also opted to restore our historic windows versus trying to replace them. Having the contractor restore them did not require any approvals from the village’s Architectural Review Board (ARB), so we did that to save time. New windows would have been better for many reasons, but that would have required a window manufacturer to design them, approval by the village ARB (which takes a few months), and then time to manufacture and install them. But in hindsight, we wish we had just waited and spent the money on new custom windows versus restoring the old. What’s the lesson here? Spend the extra time and even delay short-term progress if it’s the best decision for the long term.
Do all you can afford to do while the contractor is there. When he has to leave and return at another time, you’ll spend more money.
Along those same lines, think for the long term so you spend wisely. If you plan on phasing your renovation, don’t spend a lot of money on something that may be demolished in a few years during the next phase. For example, when we purchased our home, we dreamed of reconfiguring the second floor (perhaps with an addition) within five years. So instead of renovating the outdated bathrooms and replacing old carpet with expensive hardwood floors, we decided to just clean the bathrooms really well and install nice but inexpensive sisal and carpet on the second floor. Then if we knock down walls and change the layout in the future, we aren’t demolishing expensive marble and bath fixtures and hardwood floors. We also chose to delay a kitchen renovation, as we thought we would do that at the same time as any bathrooms since the kitchen was clean, even if old and a bit outdated. We simply had the cabinets repainted and updated a few appliances that needed it.
Also, don’t go cheap on important parts of the home. As an example, when we renovated our apartment, we needed new windows. The window salesman told me I could save money by putting a fixed window in my walk-in closet if I never planned to open it. The problem with that, which I realized after the fact, is that I can’t clean it. So it’s always dirty except for about two weeks after the building has the outside of all windows cleaned. Don’t go cheap on things that are meant to last and not frequently changed or replaced: windows, flooring, appliances, windows, heating and air conditioning, a roof, etc. These are usually the most expensive items, and it’s best to spend an extra $1,000 now on quality versus having to completely replace them too soon because they don’t last.

Middle living room with the old owner. So. Much. Stuff.

The transformation of the middle living room, where we hang out.

Love the front door (which we painted) and the original working pocket doors leading to the formal living room. More of the banister which was sanded and stained, along with the floors.

The attic has full-height ceilings, so it has potential to be a play room/game room for kids (or adults).
I hope you found this information to be helpful, whether going all in on an old home or making some improvements to the home you’re living in now. Feel free to message me with any questions. Someone should benefit from my mistakes. ;-)