Contact Us

Use the form on the right to contact us.

You can edit the text in this area, and change where the contact form on the right submits to, by entering edit mode using the modes on the bottom right. 


123 Street Avenue, City Town, 99999

(123) 555-6789

email@address.com


You can set your address, phone number, email and site description in the settings tab.
Link to read me page with more information.

HOME

Filtering by Tag: chicken recipe

GRILL TIME: BEER CAN CHICKEN

Jennifer Mejia

public.jpeg

I really can’t take all of the credit for this recipe. My brother-in-law is the grill master, and he’s been making beer can chicken for years. The base for this recipe is his, but because I can’t remember exactly what he does, I think I’ve changed it a bit. If you’ve been following my blog from the start, you may recognize the rub. You can also make a version of this in the oven, and I do. It’s called Roast Chicken for Harry and is a favorite of a few friends of mine. Now that summertime is here, it’s grill time, so we can take Roast Chicken for Harry up a notch and impress your guests with your grilling skills.

The good news is that it’s still a ridiculously simple main course to prepare. The ingredients pictured above are all you’ll need besides a chicken and a can of beer. You will need one special piece of equipment that may not be found in every household.. A vertical roasting pan or ceramic chicken steamer is required because something needs to hold the beer can, and then the chicken sits vertically on top of it. I have this one from Williams-Sonoma, and it works like a charm. It provides the flexibility to roast one or two chickens at a time, and it’s lightweight, which is great because two chickens and two beer cans are heavy. My brother-in-law has a Big Green Egg Grill and uses this ceramic steamer to hold the beer can and chicken. The toughest part of preparing this bird is trying to keep your grill at 425 degrees consistently, but I managed to work it out fairly quickly on our Weber gas grill.

Since the rub is good for 2 months if stored in the refrigerator, you can prepare it in advance. The quantity in this recipe is enough for two or three chickens, so you can enjoy this again with very little effort if you decide to make only one. My brother-in-law likes to use a dark Mexican beer, but they can be difficult to find in a can, so I use regular Modelo. My sister thinks Budweiser is fine. ;-)

 
public.jpeg
 

                      1                        3.5- to 4-pound roasting chicken*
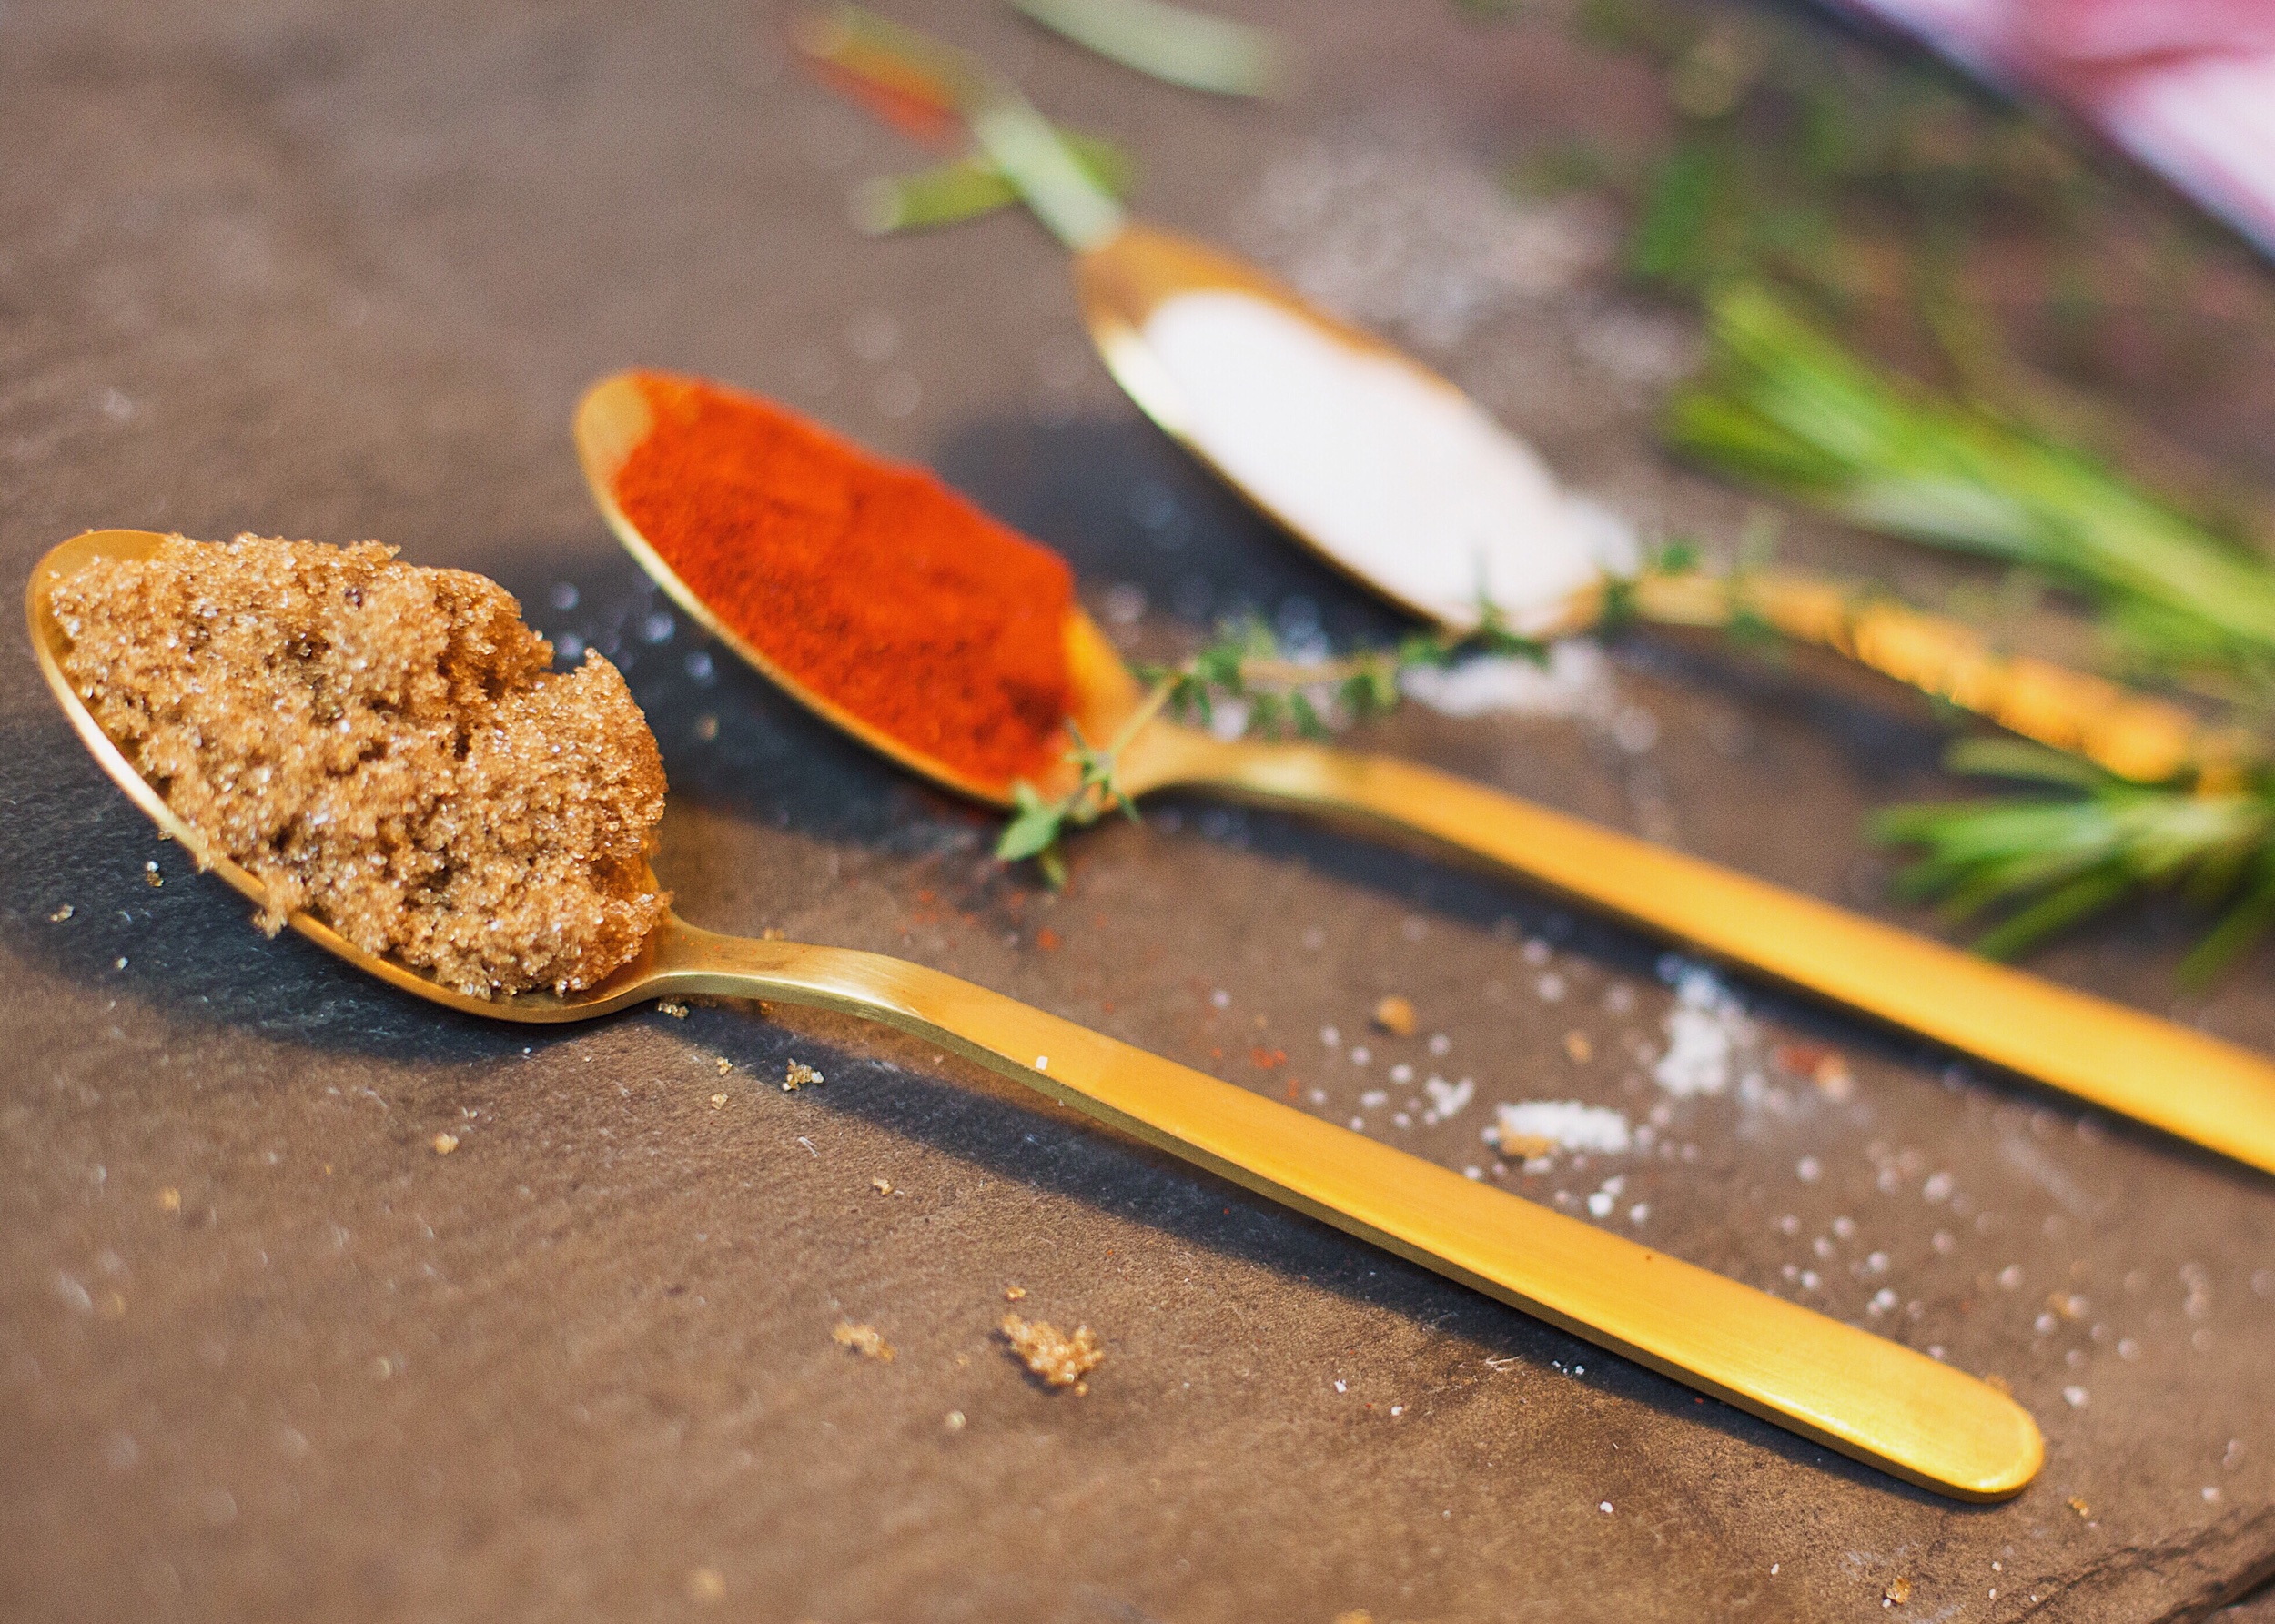
               ¼ cup                        smoked paprika                                
              ¼  cup                        brown sugar, moderately packed
               ¼ cup                        kosher salt
    1 tablespoon                       fresh rosemary, minced
    1 tablespoon                        fresh thyme, minced
      ¼ teaspoon                       freshly ground black or white pepper

   12-ounce can                       beer, preferably dark
                        

Preheat the grill to 425 degrees. To make the rub, add the paprika, brown sugar, salt, minced rosemary, minced thyme, and pepper into a bowl and combine well using your hands.

Remove any giblets inside of the chicken. Pat the outside of the chicken dry with paper towels. Using your hands, pat the rub onto the skin of the entire chicken, including legs and wings. (Remember, this rub is enough for a few chickens, so you won't need to use all of it.) Pour out about 1/3 of the beer in the can (you can pour it into a glass and drink it versus wasting it). Add 2-3 tablespoons of the rub to the remaining beer in the can. Place the beer can into the canister holder of the roaster or steamer. Carefully hold open the cavity of the chicken and place it over/on top of the beer can. Tuck the wings behind the body of the chicken, sort of like the chicken is kicking back and relaxing. Place the chicken on the grill and roast. *For roasting time, I use Julia Child’s formula of 45 minutes plus 7 minutes for each pound. So a larger or smaller chicken may be used, and roasting time should be calculated using this formula. Half way through, rotate the chicken 180 degrees. The skin will look charred, but it is so crispy and tasty that way.

Once the chicken is finished roasting, tent it with aluminum foil and allow it to rest for at least 10 minutes prior to carving. Then lift the chicken off of the beer can/roaster. Pour the beer mixture into a bowl or creamer for serving. Carve the chicken as you typically do. I like to keep the crispy skin aside as a treat. Spoon beer mixture over meat as desired.

public.jpeg

MAKE IT AHEAD: COQ AU VIN

Jennifer Mejia

 
IMG_3442.JPG
 

Nothing says come in from the cold more than this one pot meal. It’s comfort food. It’s delicious. But I feel like the name itself…maybe the fact that it’s French…sounds intimidating to many. Over the years, I’ve tried lots of recipes for this fabulous dish, including one from Ina (of course). The good news is that’s helped me create my own version. One that’s really easy. It’s prepared completely on the stovetop in about 30-40 minutes of active prep and cooking time. (The braising takes longer but you can relax during that time.) And the best news of all? It’s actually better if served the next day. So it’s a great dish to make ahead if you’re expecting guests and would rather spend time with them than in the kitchen once they arrive.

I like to use boneless, skinless chicken thighs. Free range/organic. I think chicken thighs are best for braising—they get nice and tender and you can actually cut them with a fork once braising is complete. But you can also use a whole chicken cut into pieces or any one cut if you have a favorite. Remove as much of the fat as you can before browning so it’s not a super fatty/greasy dish.

A few tips. When you make coq au vin, which translates to “chicken with wine,” contrary to what you might think, you don’t need to use expensive wine. (But you can drink it once it’s served!) A $10-12 bottle of dry red wine will do the trick. As for prep, I typically like to prep all of my ingredients ahead of time. Things like cutting vegetables and herbs. But in this case, since the first step is to brown the chicken and that takes time, you can cut all of your vegetables and measure your liquids while that’s happening to be more efficient.

If you choose to make this ahead, you won’t be disappointed, as it actually tastes even better the second day. (But don’t worry if you want to eat it right away…it’s still delicious!) And the best news is that when you remove it from the refrigerator the next day, you’ll see that a thick solid layer has formed on the top. That’s fat. Pick it off with a spoon or fork and discard it before reheating. You’ve just made your dish a bit healthier.

SERVES 6-8

About 2 ½ pounds boneless, skinless chicken thighs (preferably organic)
                            to taste               kosher salt
to taste               black pepper (preferably freshly ground)
2 tablespoons                 unsalted butter
2 teaspoons                freshly minced garlic
1 large               Vidalia onion, cut into 8 wedges
1/2 pound (about 4) carrots, sliced 1/2 inch thick, diagonally
about 10               cippolini onions
4 slices                thickly sliced bacon, diced
1 ½ cups                dry red wine
1 cup                chicken broth
2-3 tablespoons                  good brandy or Cognac
1 tablespoon                 tomato paste
10 sprigs                  fresh thyme (preferably tied with kitchen string)
½ pound                  crimini mushrooms, stems removed and quartered if large
1 tablespoon                   all-purpose flour or corn starch
2 tablespoons                   water

Remove excess fat from chicken. Pat dry with paper towels. Season both sides with salt and pepper. In a large Dutch oven over medium-high heat, melt one tablespoon of butter. Brown the chicken in batches in a single layer, about 3 minutes per side. Remove the chicken and set aside. 

 Add bacon, carrots, onions, and garlic, and cook for about 8 minutes, stirring occasionally. Add in red wine, broth, brandy, tomato paste, and thyme and stir to mix. Add chicken back in, including any juices on the plate. Bring to boil, cover, reduce heat and simmer for 30 minutes, stirring occasionally. 

 After 20 minutes, heat remaining 1 tablespoon butter in a non-stick skillet over medium heat. Sauté mushrooms for 5 minutes. Add mushrooms to the chicken pot and simmer uncovered for an additional 10 minutes. Remove chicken from the pan. In a separate bowl, blend flour or corn starch and water. Add to pan, increase heat to high, and stir constantly for 2 minutes to thicken sauce. Add chicken back to pan. Serve. 

 If making ahead, allow to cool, place in refrigerator overnight. The following day, remove the thick layer of solid fat. Then reheat covered over low heat, stirring occasionally, for about 20 minutes. 

 
FullSizeRender.jpg