GUEST ROOM BEFORE & AFTER
Jennifer Mejia

Renovating this old house has been a love hate relationship. There are always surprises. Construction and renovation ALWAYS costs more than you’ve budgeted. Then by the time you get to the fun part—the decorating that you love—you’ve lost a fair amount of steam and A LOT of money. So then the room that you’ve dreamed about starts to cause anxiety because your champagne taste is now on a beer budget. And that’s when the work starts. But then you realize that this work can be fun. Because it’s now a challenge—to still make it the room of your dreams without completely bankrupting yourself. So where do you begin?

The guest bedroom before the renovation
Before you can begin, you MUST see beyond the clutter and everything that’s wrong with your starting point. Just look at the bones. The photo above is our “before” photo. The room as it was when we purchased the home was horrible. If you can believe me, it actually looked far worse in person. And besides the decor, a lot of work was necessary. The second floor of the house had hideous, old, and loud through-the-wall air conditioning units. The ceiling fan light was not centered in the room but instead was close to the windows and the a/c unit. There were two layers of wallpaper, and underneath the wallpaper were cracks in the plaster. The carpet was full of dirt, dust, and goodness knows what else. As for the furniture layout, any light that tried to come in was blocked by heavy drapes and a valance and the headboards of the two twin beds.
So as quickly as you can, put the past behind you and create a fresh start with inspiration. Find photos of rooms you like. Ask yourself what made you fall in love with that inspiration. Study it. Is it the palette that speaks to you? The varying textures? Is there a piece of art that you think makes and anchors the space? Then ask yourself which of those things could actually work in your room, and when you’re answering that question, you need to consider both scale and budget.
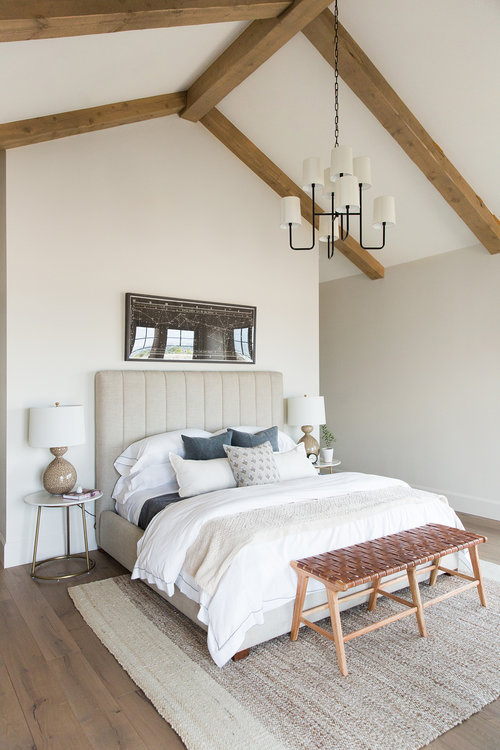
Photo via Studio McGee

Photo via Studio McGee
I am obsessed with these two rooms from Studio McGee, one of my favorite design teams. I loved the neutral headboards with clean lines on white walls, and our walls are white throughout the home. I also wanted blue in the pillows, as every room in our home has some amount of blue in it. I think it’s important for a home to feel cohesive and connected. Nothing is more unsettling and jarring to me than drastically different colors in every room. In the first inspiration room pictured above, I love the use of mixed metals. The chandelier is aged iron, while you see gold/brass in the bedside tables. Mixing metals is one of my favorite things to do in a room, as I can’t take anything too matchy-matchy. Matching seems very contrived, so you’ll never see me purchase a complete set of bedroom furniture. I really liked the mix of natural wood and white in the nightstands featured in the second photo, but that mix doesn’t have to be on one piece of furniture. I opted to mix it by choosing different finishes for the dresser and bedside tables. I also love layers of bedding because nothing is more inviting to your guests than a cozy bed. I especially love the use of a quilt at the end of both inspiration beds. Lighting should never be an afterthought—it can make a room, so I was drawn to the use of substantial bedside table lamps in both of these rooms. And finally, artwork. I love the use of a long piece over the bed so the bed becomes more of an anchor for the entire space.

The design board. I always put everything together before ordering to see how it will look.

So where did I end up? I can tell you without a doubt that it looks A LOT better than where we started. (And I’m still not completely finished.) As a rule, I always begin designing a room with either fabric or a piece of artwork, and then the rest develops from there. In this room, I began with the pillows because I knew I wanted blue in the room so it would jive with the rest of the house. And my favorite source for beautiful, well-made, and affordable pillows is Danielle Oakey Shop. For our guest room, I purchased two 22” Zoe Pillow Covers and one 14x20 Floral Block Blue Pillow Cover. Not only do I obsess over her products, but I love that she is a hard-working, mom of two, female entrepreneur. She’s also very sweet and genuine to boot, so how many more reasons to you need to shop her site?


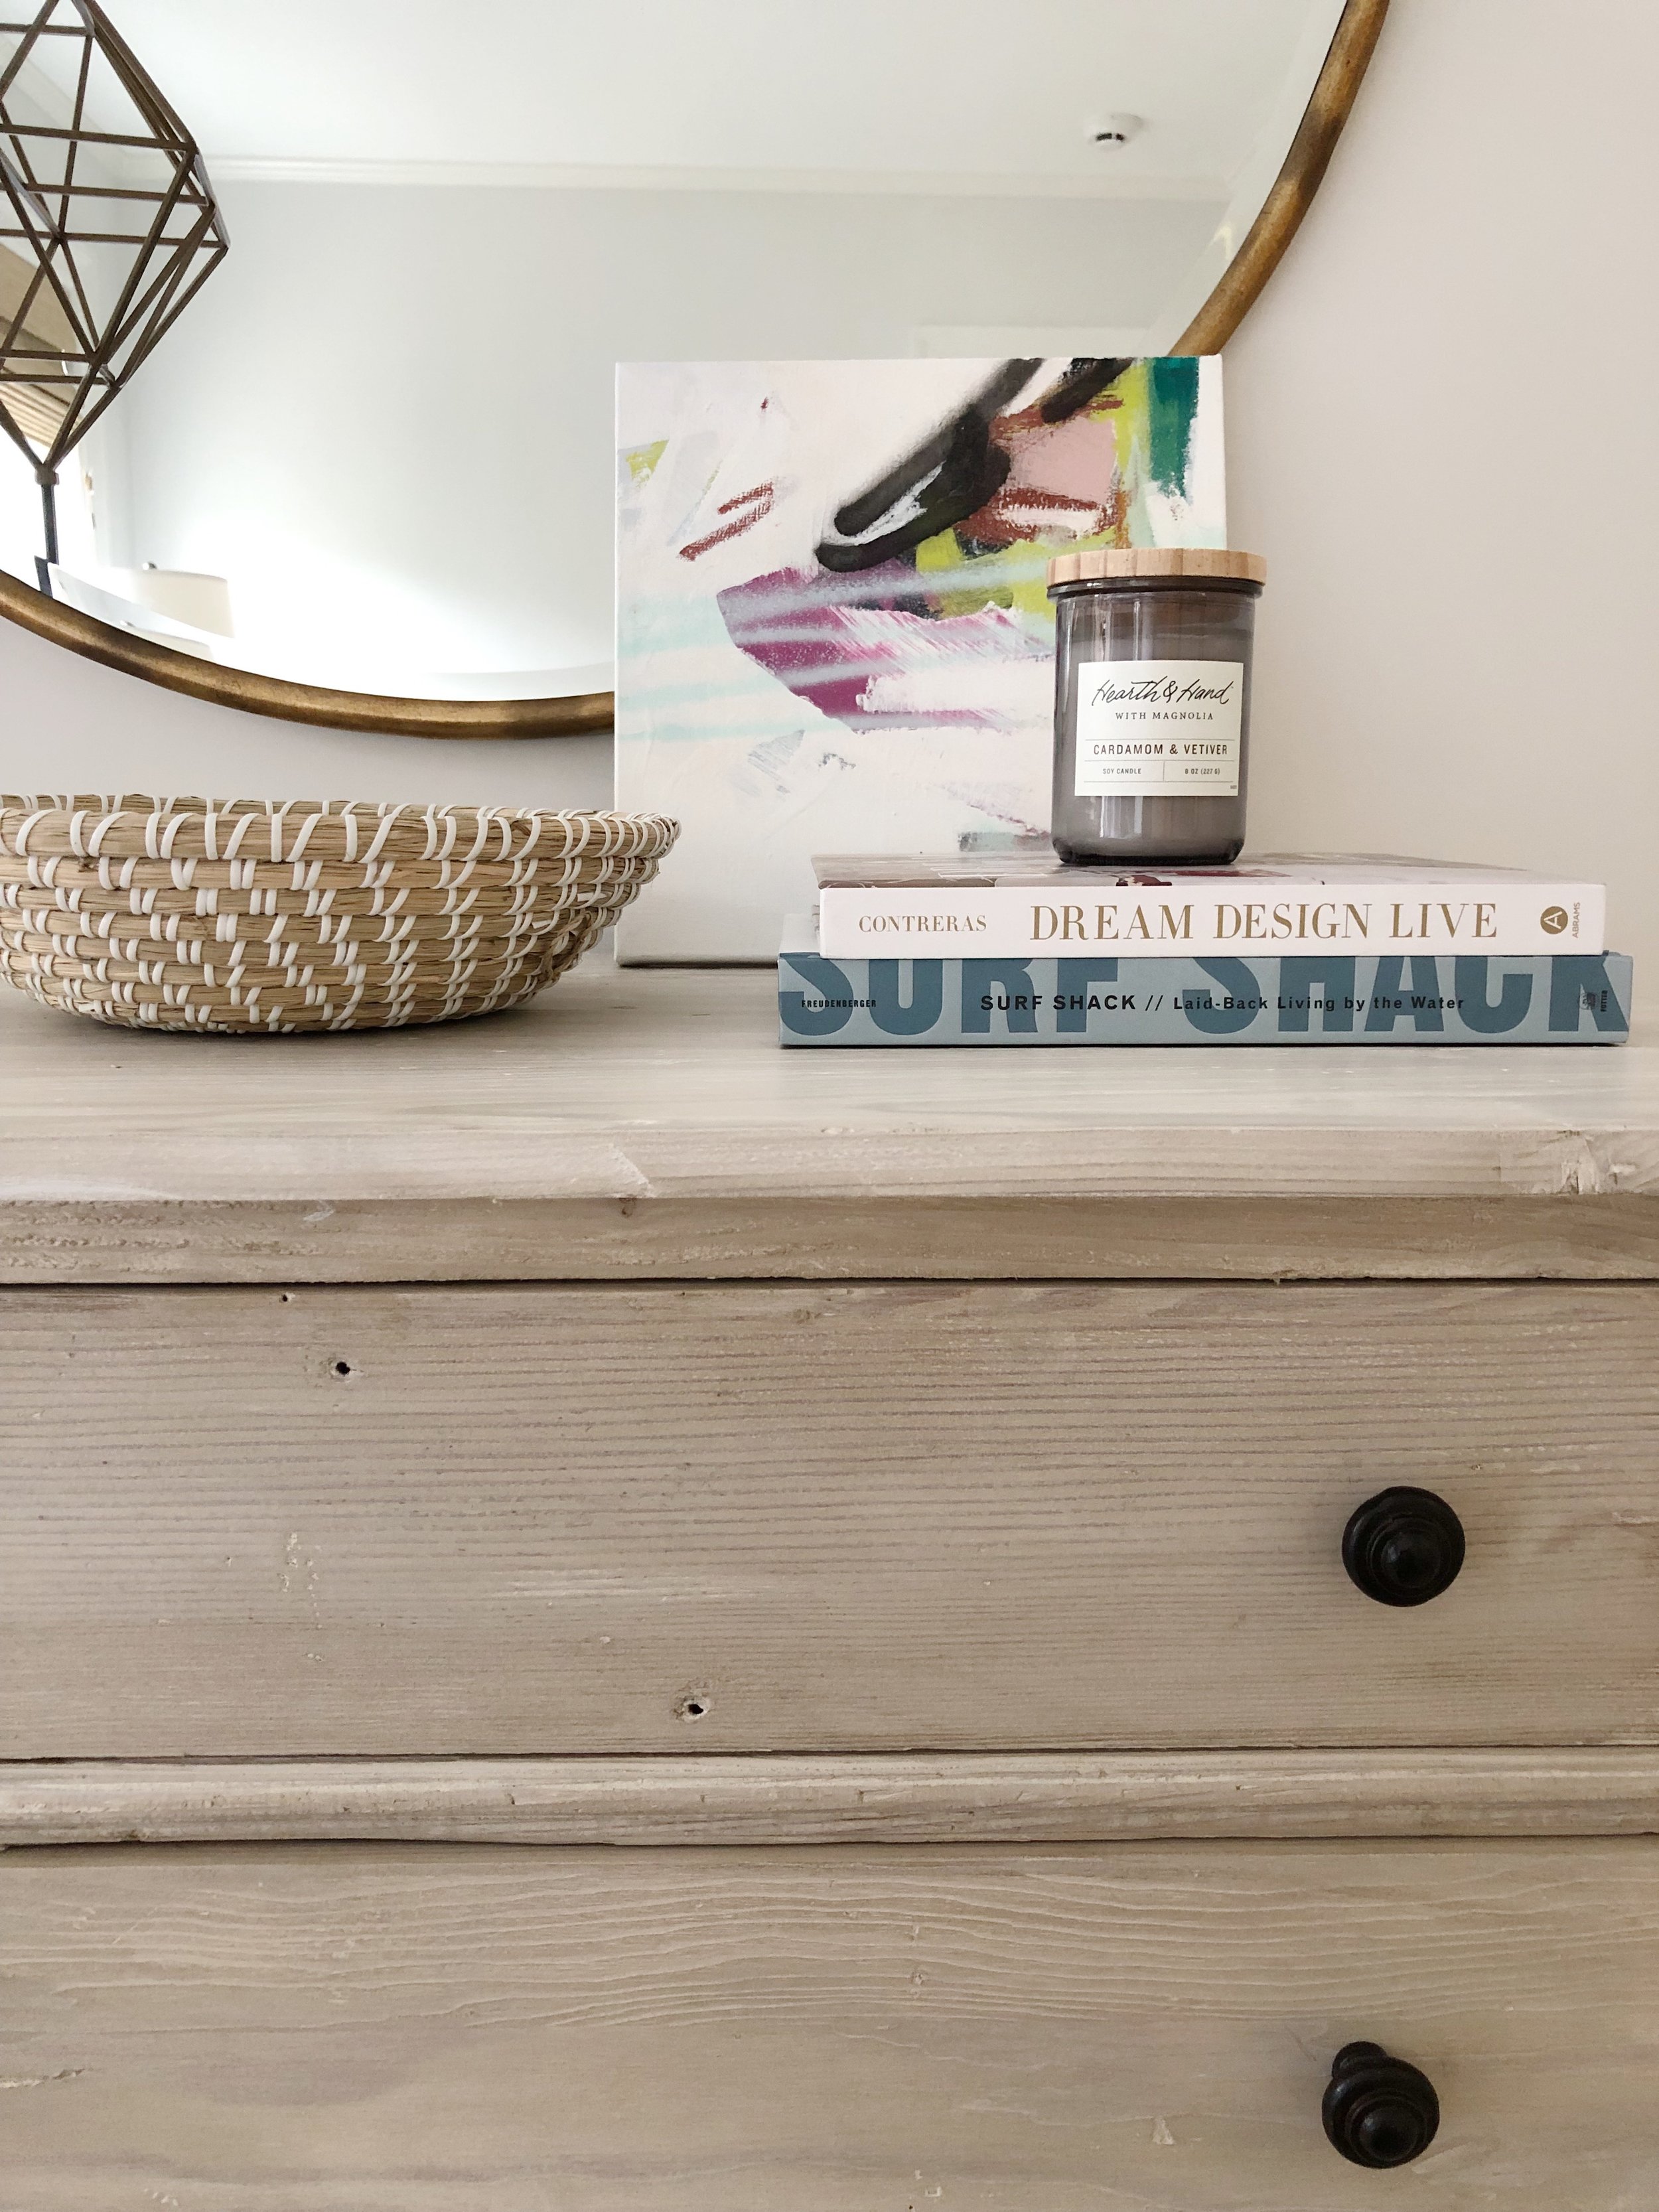
The beautiful artwork over the bed is a print on canvas from one of my favorite artists, Emily Jeffords. I think this is the seventh piece I’ve purchased from her. I own original works, but her prints are amazing quality, and you have to look very closely to tell one isn’t an original. I ordered “Harvesting” in a 15x30 size and had it matted and framed in the Olympia frame from Framebridge. If you’ve never ordered from Framebridge, you must. Shipping to and from their facility is free. They even send you packaging to ship your piece if you don’t have it. You can choose your own frame or one of their designers can select it for you. Thanks to this company, gone are the days of framing that is more expensive than your artwork. And finally, before we leave the subject of art, the small piece leaning on the dresser is by Jenny Prinn. Her work is always cheerful and would make any guest feel welcome.

As you can see, I actually used a lot of the inspiration from the Studio McGee rooms. I mixed metals in the ceiling light and bedside table lamps. The dresser and bedside tables are different finishes, and the dresser gave me that natural/raw wood I knew I wanted in the room. The bedding is layered with a quilt at the end. The pillows have the blue, and I installed a large piece of artwork over the bed.


Many of the items featured in this room (other than the artwork and pillows hyperlinked above), including the furniture, can be shopped below by clicking on the product images in “SHOP THE POST.” For bedding, I always love Serena & Lily, and that’s what I used for this room. But Restoration Hardware is also a safe bet and what we have in our master bedroom. The shades are from the Shade Store (Hamptons-2), and I highly recommend their product and service. They come to your home to measure and install, and we had the most wonderful experience with our installer. Accessorizing is key, and I love stores like Target, West Elm, and Pottery Barn for vases, bowls, and sculptural objects. And one of the best accessories ever? Coffee table books! They add color, height where needed, and provide hours of interest and eye candy for you and your guests. I purchase most of my books from Amazon.`The bedside table lamps can be found at Target and Wal-mart.
I hope you love the before and after of this room as much as I do. Thank you for reading, and keep going to see a bit more and to shop several of the pieces featured.


SHOP THE POST
